-
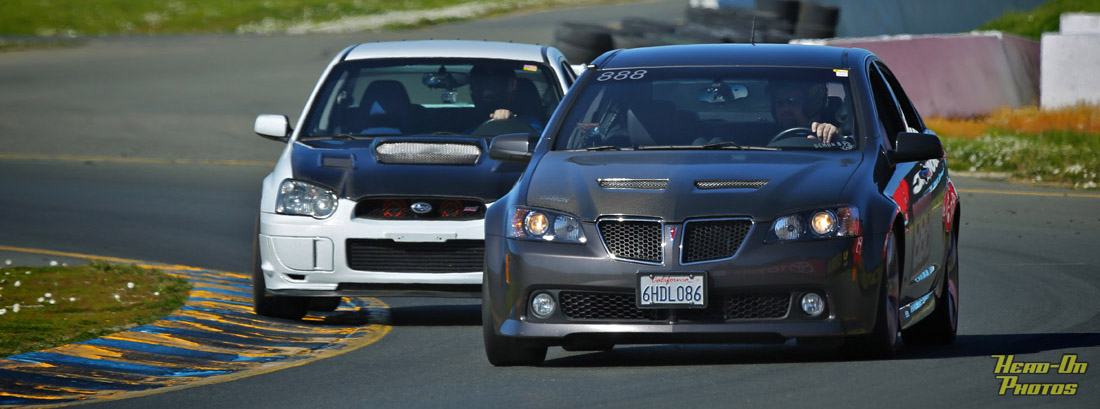
G8 at Sonoma Raceway!
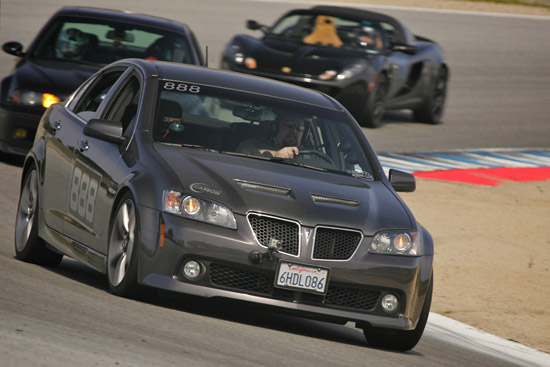
Posted on February 10th, 2013 No commentsLast April I had the chance to take the G8 out on-track at Laguna Seca Raceway. While it was lots of fun, the event ended early on a sour note when my engine started making disturbing noises. Shortly after the rebuild I headed-out on my 2012 GONE Road Trip, so have not had a chance to return to the race track in nearly a year!
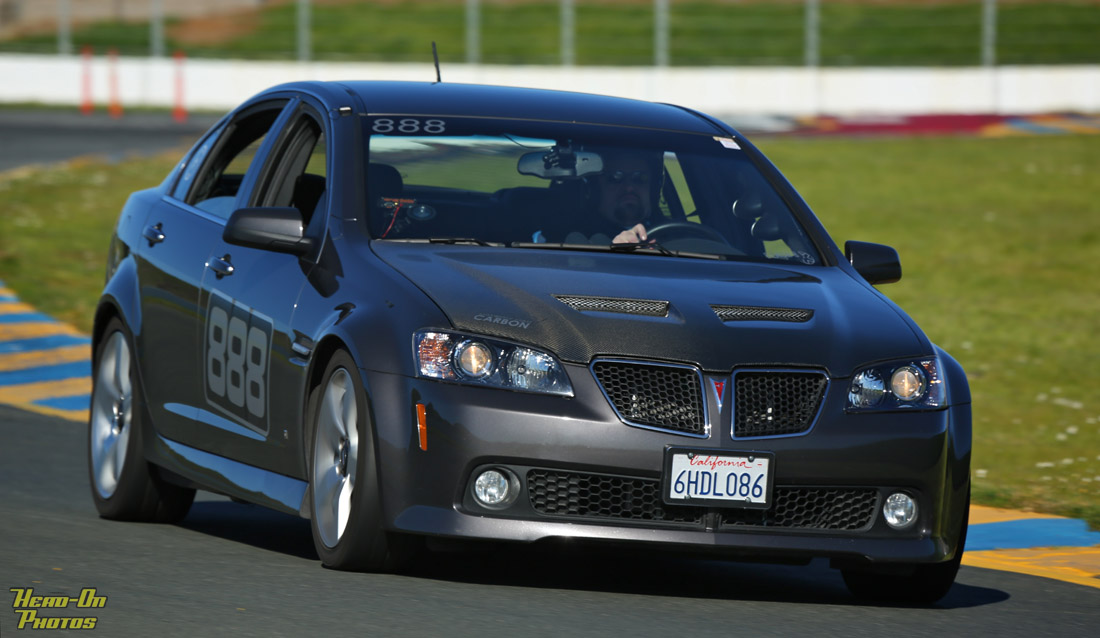
Determined to return to the track, I’ve spent the winter trying to organize a group of G8 and GTO owners who want to participate in track day events. My goal is to help facilitate the process for those who have never done it before, so have spent many hours checking calendars and putting together guides/checklists. After careful deliberation I decided that I would attend a two day track day event with the Northern California region of the National Auto Sport Association (NASA) at Sonoma Raceway (aka. Sears Point).
In Northern California NASA is one of the largest groups of driving/racing enthusiasts and typically have a weekend event every month at the various tracks. Most event include both High Performance Driver Education (HPDE) events as well as full-out racers. The HPDE drivers are broken down into four groups based on experience:
- HPDE-1: Novice – Instructor assigned, passing on main straights only
- HPDE-2: Solo – Runs with HPDE-1, passing on main straights only
- HPDE-3: Intermediate – Passing areas more liberal and increasing as day progresses
- HPDE-4: Advanced – Open passing
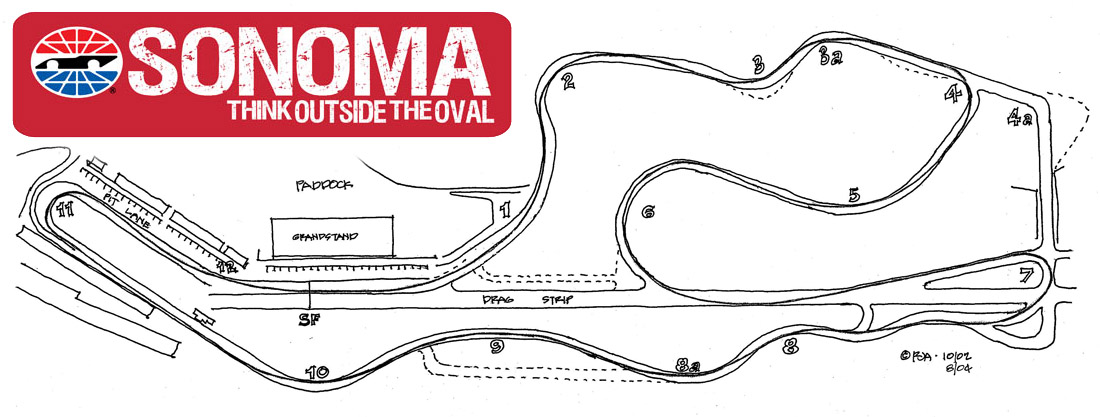
Sonoma Raceway (previously known as Infineon Raceway and Sears Point Raceway) is a tricky track. While there isn’t anything as extreme as “The Corkscrew”, the track is not a bunch of individual corners connected by straights… rather every corner flows into another. Making a mistake on the entry to one corner results in a cascade of problems through half the track. When you do things right you can really feel the rhythm of the track, and that’s extremely addicting!
Having never driven with NASA, or at Sonoma Raceway, I decided to take things slow and run in HPDE-2. I’m sure I would qualify for HPDE-3, but didn’t want to overstep my abilities and make a bad first impression. It also gave me a chance to help the new HPDE-1 drivers who had never been to a track day event before.
The week before the event I took the G8 into Synergy Motorsports for routine service (oil change, etc.) and a thorough once-over to make sure everything was ready for the track. After a year (and ~15k miles) I also had the brake fluid replaced (with more Castrol SRF)… the brake pads still had 50% of the material remaining. I also had replacement OEM front LCAs installed (I had reinstalled the original ones after reports of failures with the aftermarket ones).
Given the event was both Saturday and Sunday, I decided to get a hotel close to the track so I could avoid the hour-long drive to/from the track each day… with the gates opening at 6am I figured the little extra sleep would be nice. It was also fun sleeping in a room with posters of Ferrari’s on the wall and a track map above the bed!
I took Friday off so I could prepare for the weekend event. I took advantage of a gorgeous “winter” day in California to wash the G8 before heading-up to the hotel. Most of the day I had a nervous feeling in my stomach, but I knew it was just anticipation.
Day #1
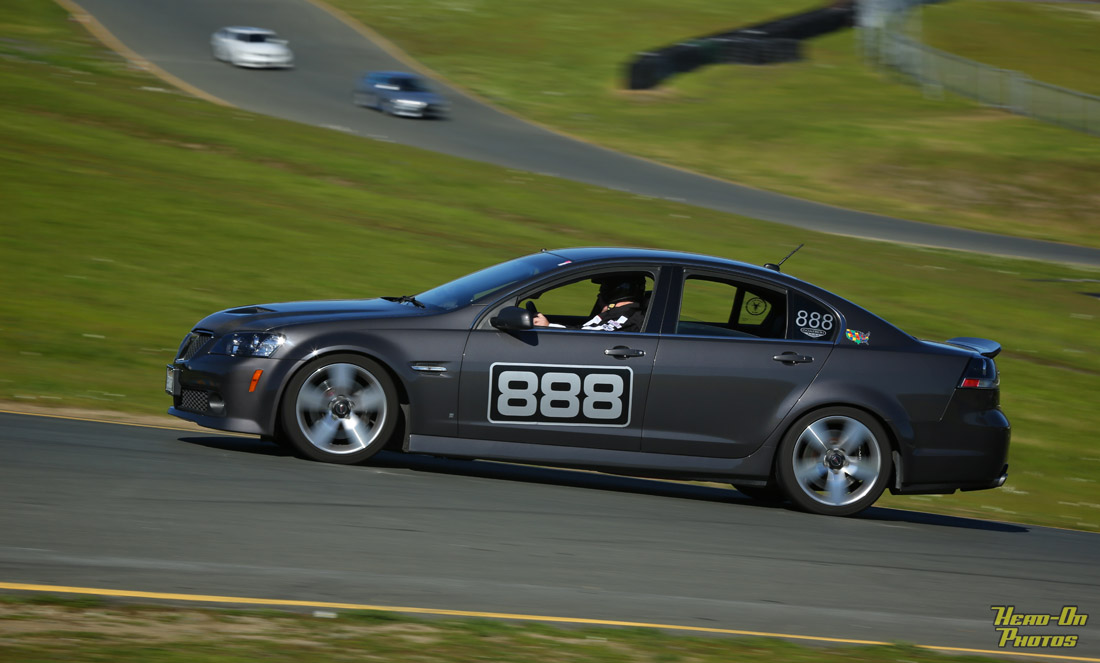
Compared to my previous track day, NASA was definitely “strict” when it came to the rules. This isn’t a bad thing, especially since there were quite a few people who had never driven on-track before. After taking some time discuss basic information they went over flags then broke-down into the various HPDE groups for more in-depth discussions before getting out on-track.During the first 20 minute session of the day I started near the back of the HPDE-2 drivers, but in front of the HPDE-1 group. One of the nice parts of NASA events is that while HPDE-1 and 2 are limited to passing on the main straights, no point-bys are required. While this resulted in some sketchy passes by impatient drivers, I found it nice to feel like I wasn’t ever holding-up people.
After letting one person by I had nearly the entire session to work on learning the driving line. I’d spent quite some time reading track guides and practicing in video games, but there is nothing that can replace the experience of driving around a corner. While I’m sure my line was far from ideal, I felt I was starting to develop a good sense for where I needed to be.
Towards the end of the first session the flag stations started to display a black flag (“Black Flag All”) meaning we were to proceed (with caution) around the track and return to the pit lane. As I rounded Turn 7 I spotted a standing yellow flag and a white flag (slow moving vehicle on-track). As I entered Turn 8 I could see a vehicle sitting off-track at the apex of Turn 8a, but it appeared to have damage on the driver’s side door. I kept thinking to myself, “How did you do that there? There’s nothing to hit…”. Then I spotted a Porsche with front-end damage hiding behind a safety truck.
After each HPDE session on-track NASA has a group “download” session where we discuss things. Needless to say there was quite a lot of discussion about the car-to-car incident (which is nearly unheard of). It was obvious to me that people were driving too fast/close for their ability, especially for the first session (of the first event of the year). It was a bit surprising to hear the instructors comments about who was “at fault” in the incident… and that as a driver you are responsible for being able to control/stop your car if/when the vehicle ahead of you has an issue (like a spin).
There wasn’t much time after the debrief before we were back out on track for the second session of the day. I again tried to position myself towards the end of the HPDE-2 group, giving myself lots of room to work on learning the track.
Like I did in the driving schools I decided to keep in 4th gear and just focus on the line. I found that I was picking-up things fairly quickly, but knew I wasn’t pushing too hard. While I started going WOT on the straights, I tried to be consistent with my braking/turning points. Just when I was getting in the groove the session came to an end.
At lunch NASA runs a session called a “Hyperdrive”. This is designed to give people a taste of track driving without all the requirements of a full HPDE-1 run group. Many people would consider a 45 minute track session at a maximum speed of 35mph torture, but with no previous experience/instruction at Sonoma Raceway I took this as the perfect time to really learn the driving line with one-on-one instruction. Unfortunately the debrief from the second session ran long, so I missed half of the Hyperdrive, but I came away from it with a much better understanding of the track. I would highly recommend it for anyone really looking to learn to drive a new track.
Before the third session I needed to fill-up my tank with fuel. With the G8 tuned to run on 91 octane pump gas there isn’t a need for race gas, but during long sessions engine/intake temperatures can get high. Running higher octane fuel is cheap insurance to protect against detonation (or the ECM pulling timing due to knock). After 12.424 gallons of 96 octane (at $7.999 per gallon) the final “blend” in the tank was 94.8 octane… perfect for an afternoon of track driving!
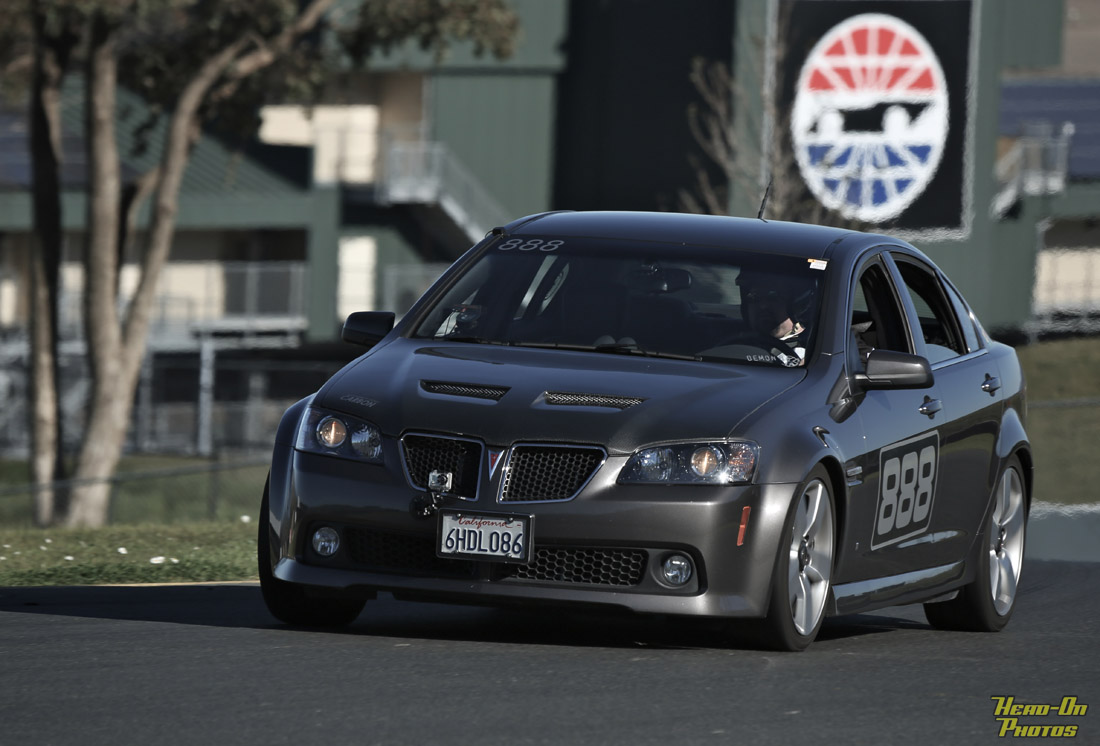
In the third session I planned to apply what I’d learned during the Hyperdrive and really work on driving the proper line. I came up-to-speed more quickly and soon found myself starting to push things harder down the straights and through the corners.
Just when I was starting to get a feel for the track I entered Turn 10 something went wrong…
As I looked into my rear-view mirror to check on the car I was going to let pass me I noticed a bunch of smoke coming out the rear of my car. At first I thought I might have lost traction somehow, but I wasn’t on the gas. Fortunately the entrance to pit lane was just to the left, so I quickly exited the track.
In the paddock I checked the G8’s vitals. Oil pressure and temperatures both looked good, oil level was good. Unlike last time I had issues on-track there were no strange noises. The engine seemed to be OK, but I wanted to find a cause for the smoke. I remembered that I hadn’t checked my catch can prior to the event… and sure enough there was quite a bit of oil in there. At that point I figured I’d found the problem (some oil had been picked-up from the catch can and been sent into the intake, resulting in smoke). In hindsight I really should have crawled under the rear of the G8, as I would have noticed that hadn’t been the case.
Despite thinking I’d fixed the reason for the smoke, I didn’t want to push things and drive in the fourth session for the day. I took a trip out on the ring road to see if I could see any more smoke and to double-check that everything was behaving. I wasn’t experiencing any issues, so after watching the Group C race I headed back to the hotel for the night.
Day #2
Yesterday was an exciting day, but after the mechanical issues from Session 3 I was apprehensive about how the day would go. I’d driven to/from the hotel without issue, but I wanted to take things slow on-track so arranged to be one of the last cars out for the first session.I started out of the pits and everything seemed to be OK. I made my way around the track on the opening warm-up lap slowly increasing the speeds, but just as I started around Turn 10 I knew something in the drive-line was not right.
As I tried to accelerate out of the corner I could hear the engine RPMs increasing, but there was zero power going to the rear wheels. I had another car on my bumper, so quickly dove into the pit lane while I tried to find a gear that would work. After trying a few different gears with no luck, I knew my weekend was over. I coasted into the paddock and quickly located an empty area to park. I pulled-off my helmet and crawled under the back of the G8 to figure out what had happened.
At this point I could clearly see it was something major that caused the smoke yesterday, not just a little excess oil from the catch can. Fortunately one of the steps I’ve taken in preparation for track driving is upgrading to a Platinum AAA membership which includes up to 200 miles of towing per incident.
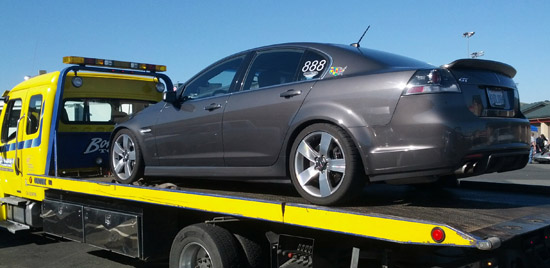
It didn’t take long for the tow truck to arrive and get the G8 loaded-up. After swinging by my spot in the paddock to pick-up all my stuff (tools, bags, spare tire, etc.) we headed-off towards my mechanic’s shop.
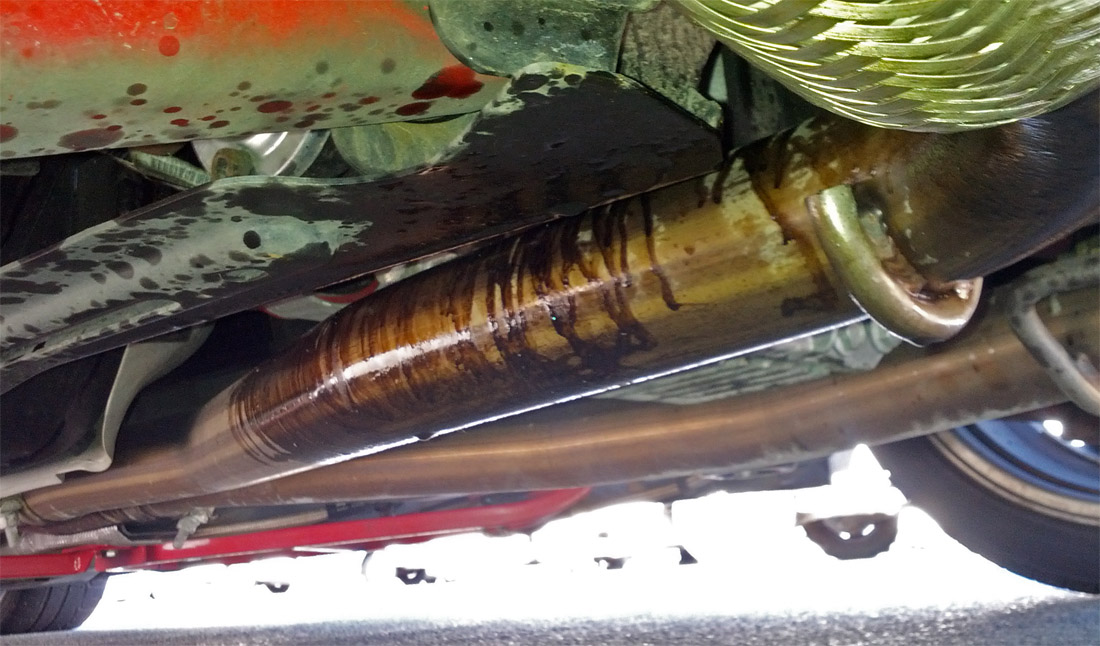
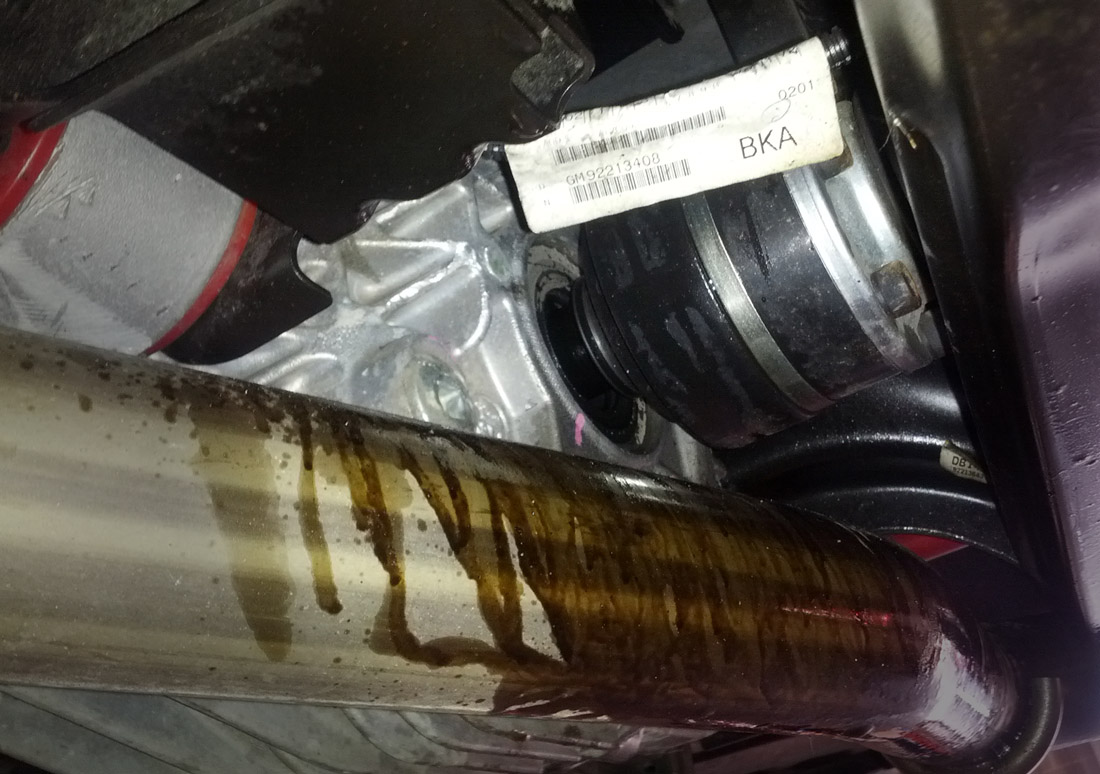
Getting the G8 up on a lift, it’s was obvious there is something wrong with the rear differential.
The driver’s side axle had separated from the differential and that allowed fluid to drip onto the exhaust (causing the smoke observed on-track). Fortunately it appears there was no damage caused to the axles or the differential and after flushing the fluid everything went back together and seems to be driving fine.
Overall it was a fun weekend. It was great to drive at Sonoma Raceway with NASA and I was glad I could help some friends get out on track for the first time. While I would love to get back out on-track soon, finishing on a tow truck wasn’t how I imagined it ending. I said after my previous track day, I really think I need to look into a dedicated track car!
-
G8 at Laguna Seca Raceway!
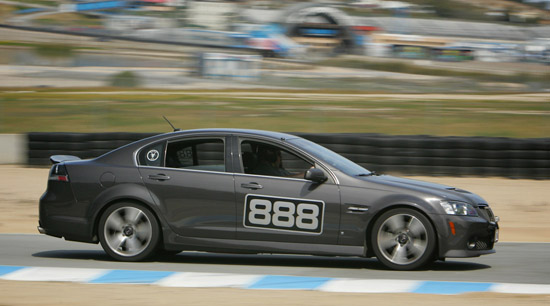
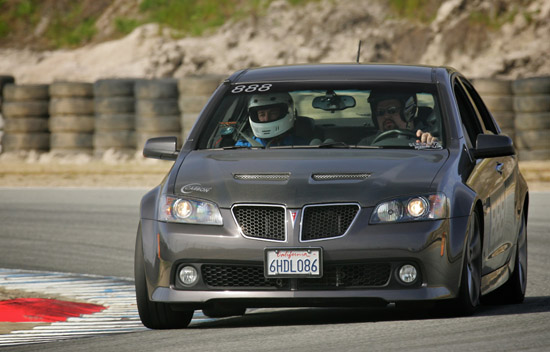
Posted on April 9th, 2012 No commentsToday was the first time I’ve taken taken G8 out on-track, and I couldn’t think of a better place in the world to do it on than the iconic Laguna Seca Raceway in Monterrey, California.
I had originally planned on attending my first track day at Thunderhill Raceway, due to the lower risk of damage due to off-track excursions (aka. the walls are farther from the racing surface). When I heard that the Checkered Flag Racing Association (CFRA) was inviting guests to a Laguna Seca track day (and for only $99 after 50%-off) I just couldn’t resist!
I have a very long-standing relationship with Laguna Seca Raceway; attending races there since before I was born! I’ve been told the story of how my Father helped my Mother (7 months pregnant) up the hill to The Corkscrew. When I was a child I was running around the paddock checking-out all the historic race cars… including a memorable experience with Sir Jackie Stewart. I attended my first professional race at Laguna Seca in 1993 where I saw Paul Tracy win the race and Nigel Mansell win the CART Championship. Laguna Seca Raceway was also a track I photographed on a regular basis (23 different events between 2003-2008).
CFRA is a “members only” group who got together to organize and attend, not-for-profit, track day events. One of the primary goals of the group is to maintain a safe and courteous environment for driving/racing on-track. They have three run groups (resulting in 2.5hrs of track time each event) at various levels of competitive ability/desire.
For this event CFRA was not taking any drivers who had not previously been on-track before. Group B (point-by passing) was for drivers with fewer than 10 days experience and Group A (open passing) was for those with more than 10 days experience. There was also a Group R for those with lots of experience and who wanted to do wheel-to-wheel racing (aka. not me).
While I’ve never done a track day, each of my driving schools counted for several days of experience, and I was invited to join Group A for this event. While I’m sure I would have done a good job in Group A, I decided that I wanted to take things a little slower… especially for the first time out in the G8. As a result I didn’t get the 50% discount (all the discount spots for Group B were already filled), but I felt being in the right group was worth a couple extra bucks. In the end I made the right decision, as I took things slow and probably would have been getting in the way of the faster drivers of Group A.
 Another really exciting thing about this event was that Dito Milian of gotbluemilk.com was photographing the event. Dito and I have shot quite a few events together, so I knew I was going to get some really great photos!
CFRA events are not really focused on teaching someone how to drive on a track (there are other groups/schools for that), but they do offer “mentors” to ride-along with other drivers. During my first session I requested a mentor, as I wanted to make sure I could quickly get up to speed.
The first couple laps on-track I took things really slow, really focusing on trying to drive the proper line around the track.
Most of the corners at Laguna Seca are late apex, so really make you be patient on turn-in. Fortunately most of the corners are also banked, letting you carry a bunch of speed through them. Building on what I learned at Miller Motorsports Park, I made sure to get my braking done early… so I could get the car turned-in… and back on-power as quickly as possible. There were only a few times that I found myself carrying too much speed into the corner without the ability to get the car turned.
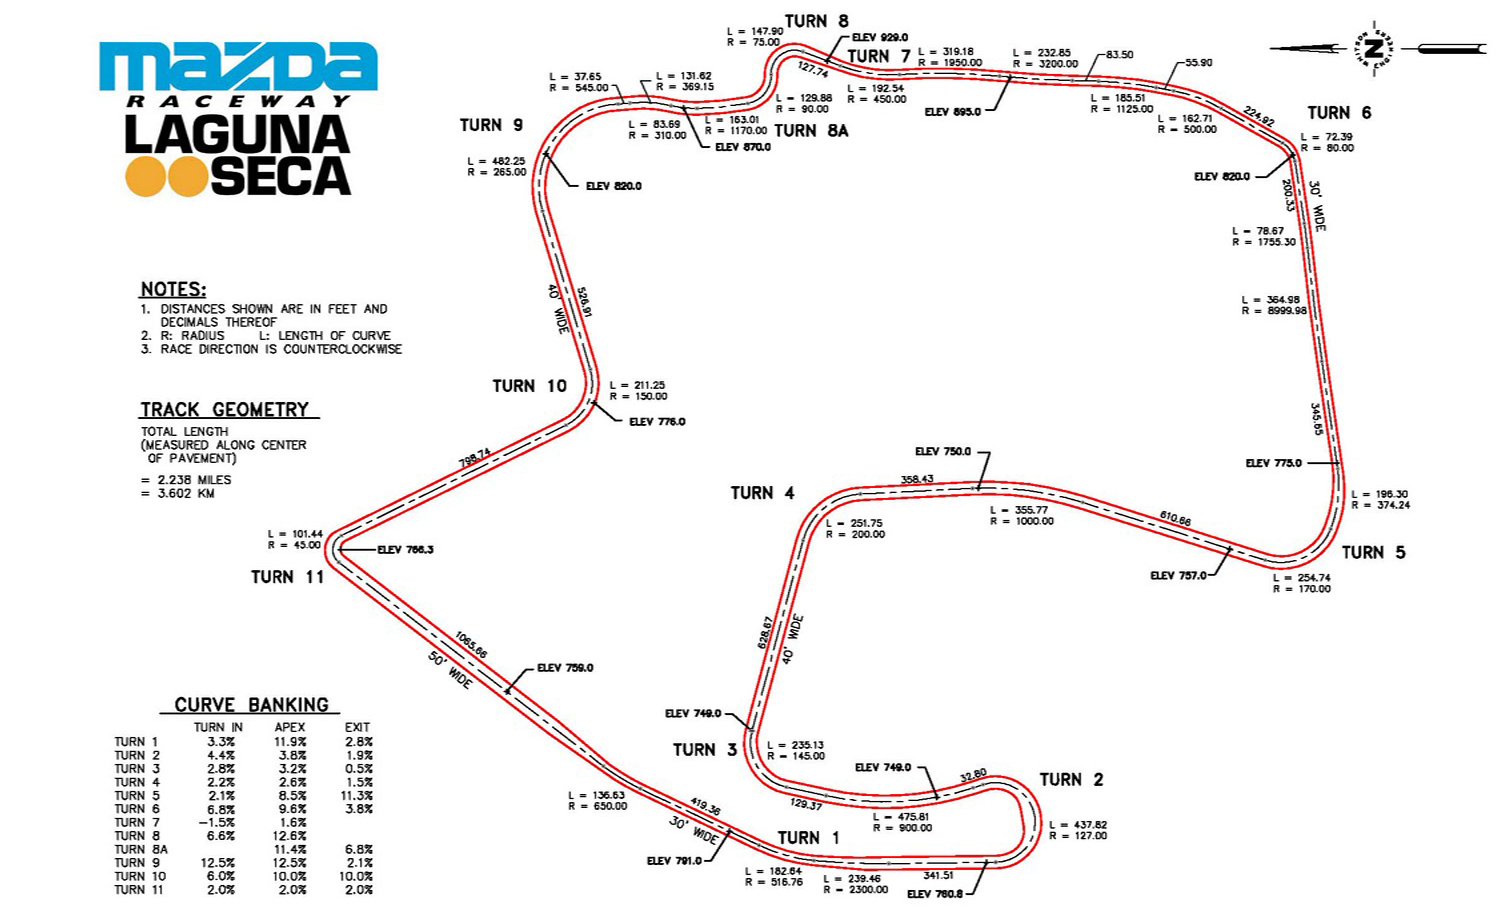
Unlike the tracks I’ve previously driven on, Laguna Seca has huge elevation changes and many blind corners… making navigating the course quite difficult. Every driving school I’ve been to has really focused on vision and keeping your eyes scanning where you want to drive. At Laguna Seca I found that 7 of the 11 corners had some sort of “blind” element…
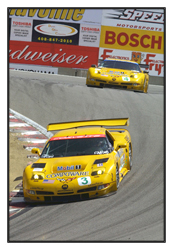 The ultimate example of this is “The Corkscrew” (Turns 8 and 8a), which is a left/right turn combination that drops 59 feet in elevation (the equivalent of a five-and-a-half story drop) over only 450 feet of track. As you drive up the hill towards Turn 7 all you can see is sky until you crest the hill. To the left at Turn 8 there is a wall/fence and corner worker station that makes seeing the rest of The Corkscrew impossible. After slowing the car down (in my case to ~30mph) you turn into the apex of Turn 8… with absolutely no view of the right hander (Turn 8a) to come. It is not until you have already committed to a line, and dropped into The Corkscrew, that you have any idea if you’re on the proper course.
While I’ve driven Laguna Seca many times in video games, watched lots of in-car videos, even walked-up/down the track… there is absolutely nothing like doing it from behind the wheel of a car. The first time I entered The Corkscrew I made sure to slow way down, and even turned-in more than I thought I would need to… only to find my two right wheels on the rumble strips through Turn 8a. While it was an awesome line, it sure was a surprise… especially when I thought I was being conservative!
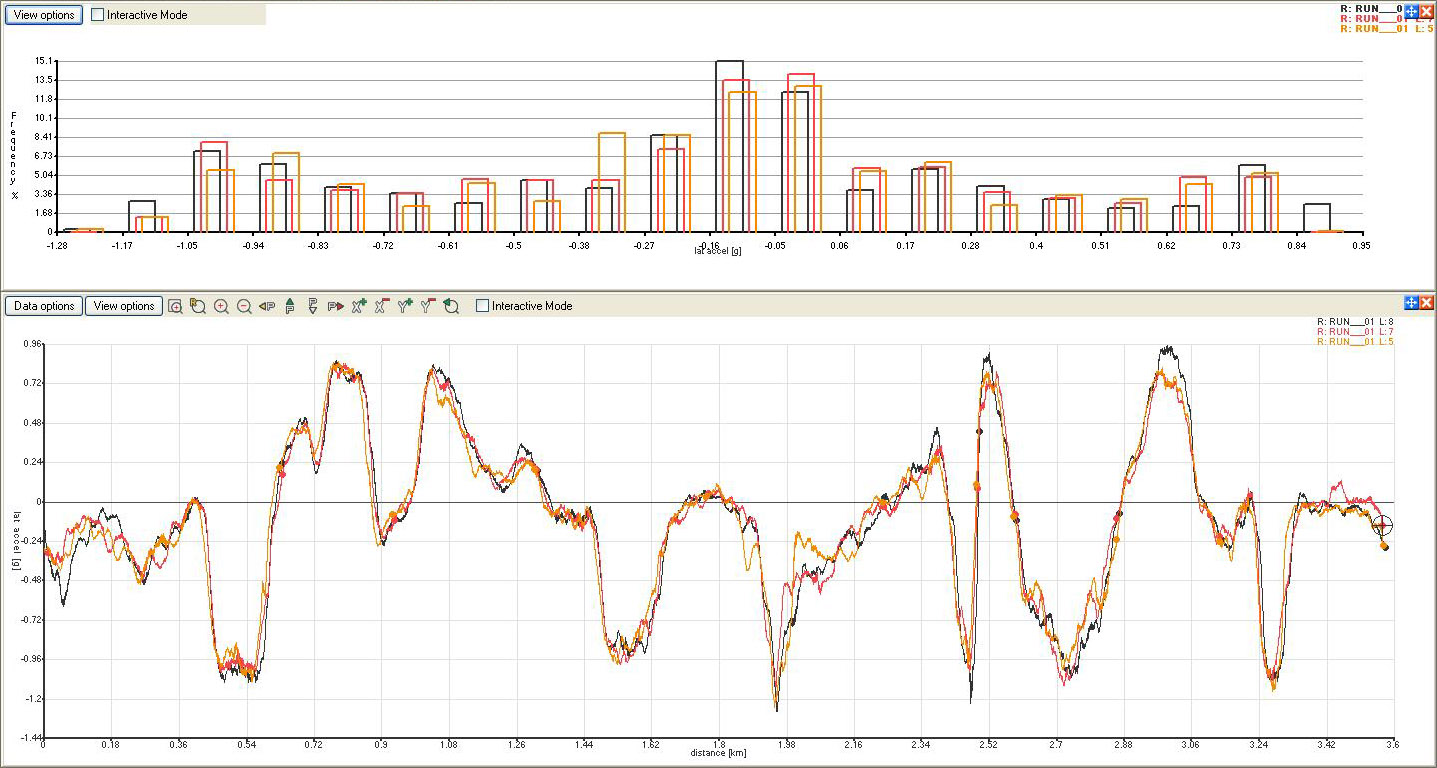
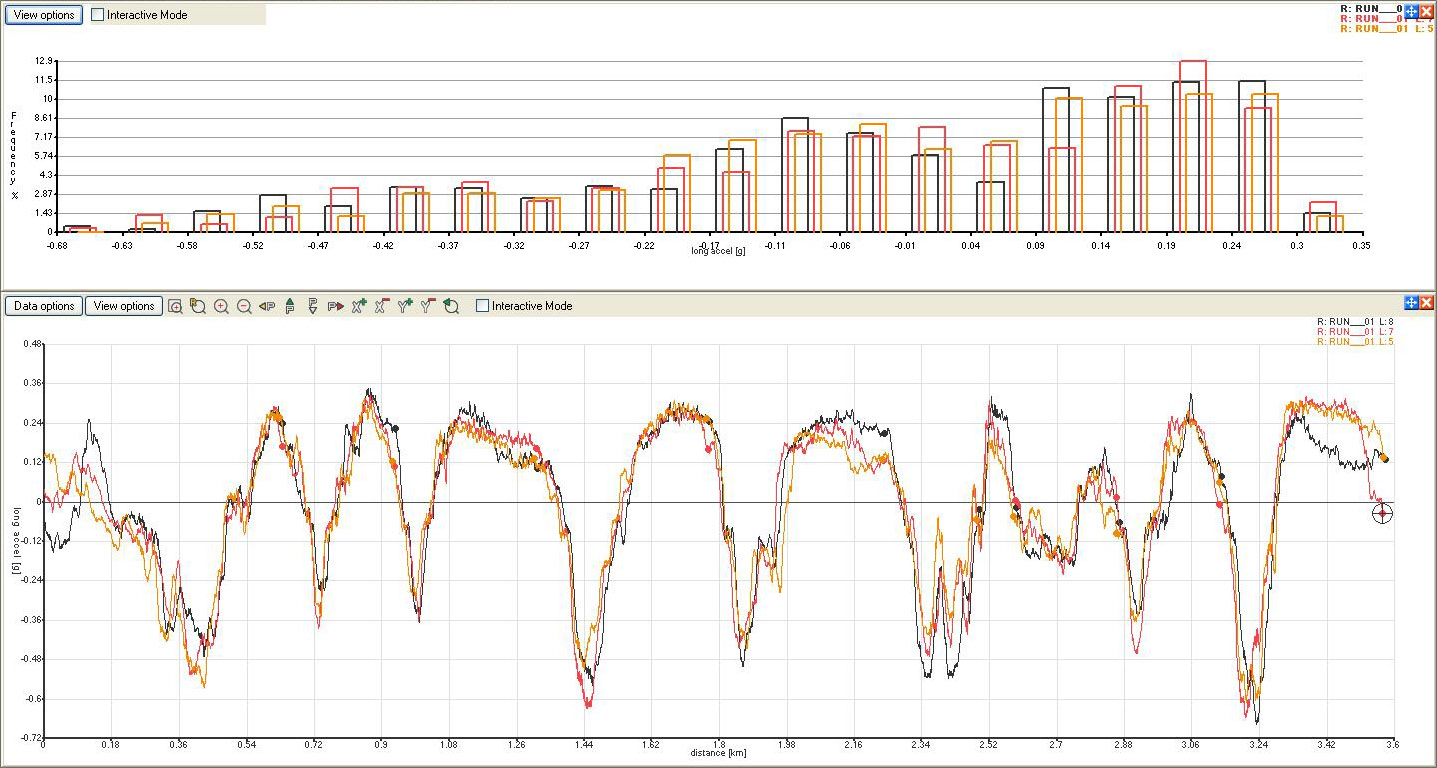
As the session progressed the speeds increased and my lap times decreased. Unlike the driving school, this time I had my Race-Technologies DL1 running… and gathered some really great data (click images to see them full-size).
Lat. Acceleration (Left/Right)
Lon. Acceleration (Front/Back)
Looking at the data I’ve been very impressed with how the G8 performed. Lat. acceleration was more than I was expecting (especially for a street tire) with several sustained periods each lap over 0.75 G’s with peaks as high as 1.25 G’s. While the Lon. acceleration wasn’t as extreme, under braking I was experiencing 0.4-0.6 G’s and ~0.25 G’s while accelerating. I can only imagine how this numbers will compare when I get more experience (and a 275/35-18 Hoosier slick)!
For the second session I was on-track without a mentor… without anyone to guide me around the track… on my own!
Driving solo was actually kinda relaxing… I didn’t have the pressure of needed to “show-off” or drive “perfect”. I felt like I kept things slower, again to perfect the driving line, but the the data actually showed I was within 1 second of my fastest first session lap after only two laps!
Between session… after I had double-checked the tire pressures, oil levels, etc… I decided to put a camera on the front of the car to record some video. Here is a video of a typical lap around Laguna Seca.
As the second session progressed I felt I was really getting a hang for the driving line, as well as feeling-out how the G8 handles on-track. I found myself being able to put together several laps without having any major “oops” moments. My lap times were in the ~2:00 range, which wasn’t great, but for only my second session at Laguna Seca wasn’t too bad. I also knew that while I gained a feel for the G8/track I wasn’t pushing 100% down the straights and was taking it easy in the braking zones.
Unfortunately, late in the second session, as I crested the hill on the front straight I heard my engine start making a strange “ticking” noise. As I exited Turn 2 I heard the car beep, indicating a check engine DTC. On my run up the back straight I again heard the noises, so I backed-off and made my way into the pits. Here are clips from the front mounted video camera, where you can clearly hear the “ticking” noise.
Once I made it to the pits I checked/cleared the DTC (P0300 “Random Misfire Detected”) and tried to replicate the sounds/DTC. I was unable to, as there is a 4,000 rpm limiter in park, but when got the engine over ~4,500 rpms in 1st and 2nd gears I was able to replicate the noises and the DTC. Rather than risking further damage to my engine, I made the decision to park the car for the remainder of the day.
Despite only having two sessions on-track, I drove ~50 miles and used half a tank of fuel… yup, I was getting ~6.25 miles per gallon!
While I didn’t get a chance to spend the afternoon out on-track, I took advantage of the rest of the day to talk with the other drivers about all sorts of things. The main topic of conversation was typically tire selection, as I know I’m going to need some different tires if I’m going to be spending more time on-track (so I don’t eat-up the tires I need to drive to drive around town).
This whole experience emphasizes the reason why people have dedicated track cars… it’s hard to get to work the next day if you damage your daily driver on-track. Hopefully the noise I’m hearing from the engine isn’t anything major, and the G8 will be back in action soon!
-
More Rig Photos!
Posted on July 16th, 2011 No commentsA few weeks ago I tried-out my Automotive Rig for the first time, with awesome results. After sharing the photos I had several other owners who were interested in having a giant metal pole suction cupped to their car!
Just like the last time, I found myself waking-up at 4am so that I could be out on-location just as the sun started to rise. I didn’t really know of any shooting locations in the area, so just chose some areas that might have things that would look good in the background.
The first location was a roundabout in the housing development of one of the car owners. I setup the 16′ pole on the suction cups and had the owner drive slowly around in circles while I walked along stabilizing the camera (by holding the camera strap). The results from this setup were nothing short of spectacular!
Previously I had tried to avoid directly lighting the cars (with the sun), as I feared I wouldn’t be able to get the long exposures that I desired. I quickly realized that with the ND filter and a circular polarizer I was more than capable of getting multi-second shutter speeds, even in direct sun light. Also, just like all other types of photography, proper use of golden hour light made the photos absolutely pop!
After shooting the first car, the group headed out of the housing complex towards a more industrial area (and to get some coffee/energy drinks). I had scouted (via Google Earth) another shooting location in a Park-and-Ride lot that would work well. Like the other area, there were rows of trees that allowed for lots of motion in the background.
This location was fully lit by the sun, resulting in some complications when setting-up the rig. I had to take care to keep the shadow from the camera rig (and me while supporting it) from covering parts of the car being shot. After a couple of passes we started thinking outside the box a little…
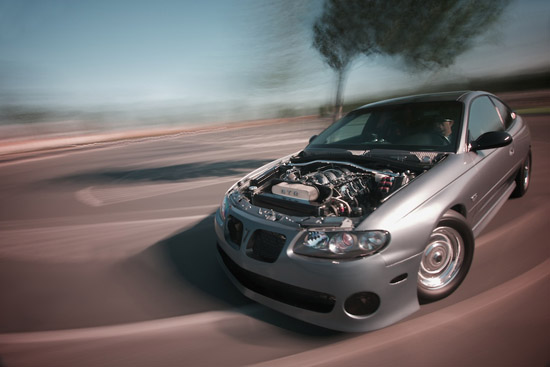
The owner of this GTO has spent countless hours painting and polishing every little piece of his car. He also runs his car at the drag strip with the hood removed, so it only seemed fitting to take some photos showing off the engine bay.
As with last time, I learned more and more as the morning went on about what does and doesn’t work. I think I did a much better job keeping track of the basics (exposure, white balance, etc.) and that really made processing the images easier. I feel confident that I should be able to mount the rig to other cars and get respectable photos… I already have a few ideas for things to tryout on the next shoot!
-
Mt. Tamalpais & Rouge et Noir
Posted on July 14th, 2011 No commentsEver since watching a video from a fellow G8 owner, I’ve wanted to get out to Mt. Tamalpais in the North Bay. I finally found myself at home with some time to get the G8 out for some “spirited” driving, so met-up with “The Yeti” and headed up towards Mt. Tamalpais.
Since “The Yeti” has driven these roads before, I let him lead. Not having to lead a cruise was a nice change after the past few weeks. The drive was very enjoyable with a decent pace for such tight roads in a national park. Of course, we had to setup some GoPro cameras to record the fun!
The road up to Mt. Tamalpais is really a jewel. The climb covers almost 2400′ and is quite steep (up to 9% grade). The roads are twisty and quite “tight” (the trees and brush is close to the road), but the road quality is quite good. I’m sure on weekends you might get stuck behind slow traffic, but mid-week the roads were virtually empty!
On a performance note: I was really happy with the way the new Bridgestone RE-11 tires performed on the tight roads. The speeds were not too high, but the heavy weight of the G8 put the tires to the test. A few times I heard them squeal a little in the corners… and even once had the right front start to lock under heavy braking into a corner.
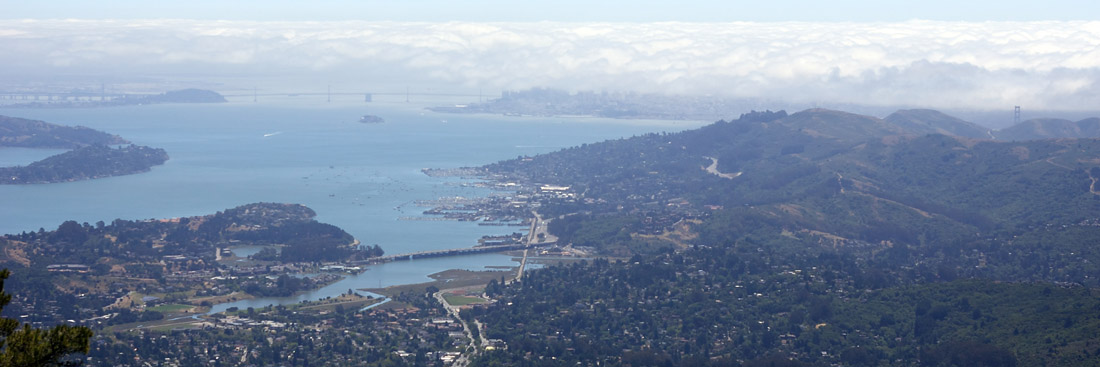
One of the best things about this drive were the scenic views of the Bay Area.
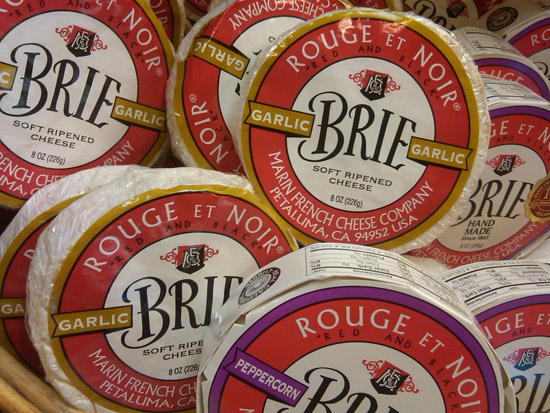
It isn’t often that I make it over towards the Marin Headlands, so the view was one I had to stop and admire. Another thing I haven’t done in a long while was visit the Marin French Cheese Company (aka. Rouge et Noir). I didn’t have anything else going on, so I figured this would be a great time to make the drive up Highway 1!
The drive along the coast was great… the sun was out and the views were incredible. Having been away from California for so long, it was really great to get to the coast.
People always ask me why I live in California… and I think I can sum it up with an image…
Great weather… great roads… What more could I want? California Cheese!
The drive up to the Marin French Cheese Co. was very enjoyable. The roads were fairly empty, but I did get stuck behind one car that was quite frustrating. It’s one thing to be stuck behind a Prius or a minivan, but to be stuck behind a Jaguar XFR (with a 510HP Supercharged engine), is just unacceptable! While I would have loved a spirited drive chasing a Jaguar up the coast, I was forced to crawl along 10mph UNDER the posted speed limit… Ug! When I had the chance to make a pass, I was sure to let the slow driver know my disgust with a loud whine from my Maggie.
I arrived at the Marin French Cheese Co. just in time for their afternoon tour of the “factory”. They produce soft ripened cheeses like Brie and Camembert, which are two of my personal favorites. Everything is done by hand in small batches. I happened to be the only one on the tour, so was able to ask all sorts of questions about the cheese making process. After the tour I headed to the gift shop to pick-up some of their harder to find cheeses.
One of the things that really gets me about soft ripened cheese is that it needs to age to obtain the full flavor. Unfortunately, most of the time I want to buy cheese in a supermarket it is too young to eat right away… so you have to wait to enjoy them properly. By going to the source I was able to buy some cheese that was at it’s peak flavor and ready to eat… I was also able to get some varieties that are not sold in stores, like their 50% goat milk cheeses.
Overall the day was great… and much needed after being away from California and the G8 for so long. I can’t wait to get out and drive these roads again… I think a cruise up Highway 1 with the NorCal GOATs would be great!
-
Rig Photos!
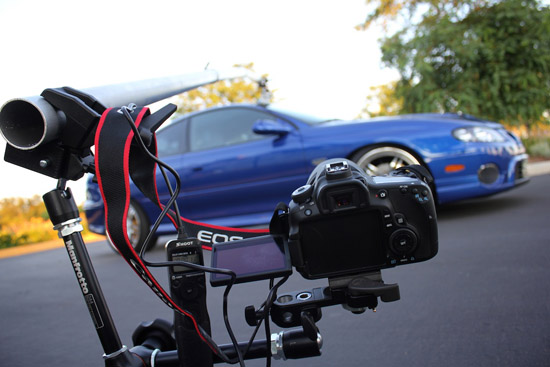
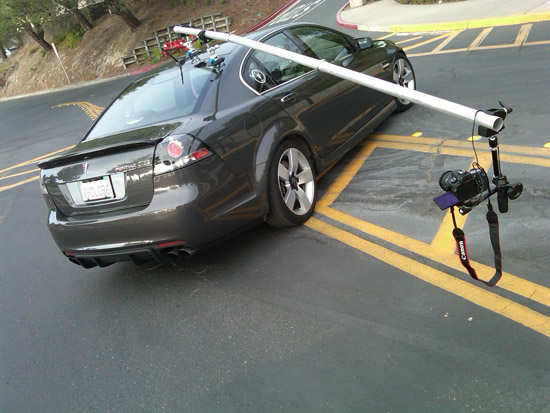
Posted on June 25th, 2011 No commentsBeing a motorsports (and automotive) photographer, I have wanted to try my hand at shooting with a “Rig” for a really long time. After several years of putting it off, I broke-down and purchased the needed equipment… and decided to hang several thousands of dollars worth of camera equipment at the end of a 12-16′ pole attached to my car!
Ok, before you call me crazy… this is not as strange as it sounds. I am not the first person to think of doing this, and after reading hundreds of pages of commentary on the subject, what else did I have to do at 4am? Also, the results are well worth the risk!
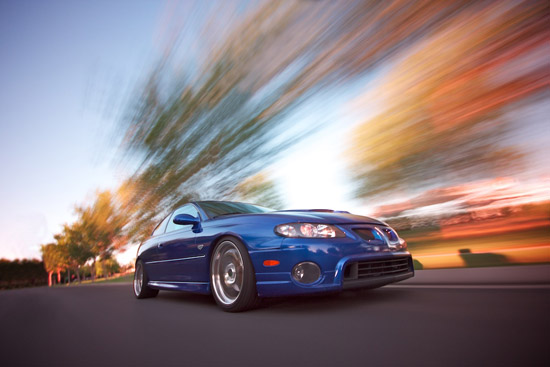
The advantage of using a rig, over a car-to-car or panning shot, is that you can get results that look like the car is going much faster than it actually is… in a space that would never allow for those speeds. For example, all of the shots done here were shot at vehicle speeds less than 1mph in a small drop-off area of a school. The rig allows for very slow shutter speeds (in this case, between 1-2 seconds) with little to no movement of the camera relative to the car. This results in a photo where the body of the car is very sharp photos, yet there is lots of motion in the wheels/background (like with a panning or car-to-car shot).
The rig is then removed from the frame during post-processing…
After some experimentation on my G8, I was able to convince another brave owner to let me mount the 16′ pole to his car!
After the session was over, I told the owner how nervous I was about damaging his car… he couldn’t believe that I’d put such valuable equipment at the end of a pole.
This was my first experience using a rig, and I learned so much as the morning went on. I learned that the Neutral Density filter that I was using (to block out light, allowing for longer shutter speeds) was causing the photos to have a magenta hue to them. I also realized that I had been sloppy with my exposures (not looking at the histogram like I should have been), resulting in skies that were more overexposed than I would have liked.
Right now I can hardly wait to get out and shoot some more photos with my rig!
-
Maverick Man Carbon Fiber Hood!
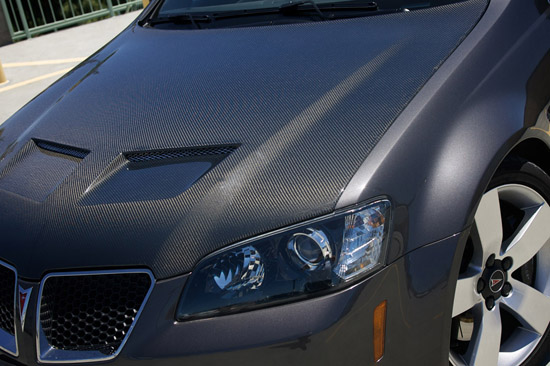
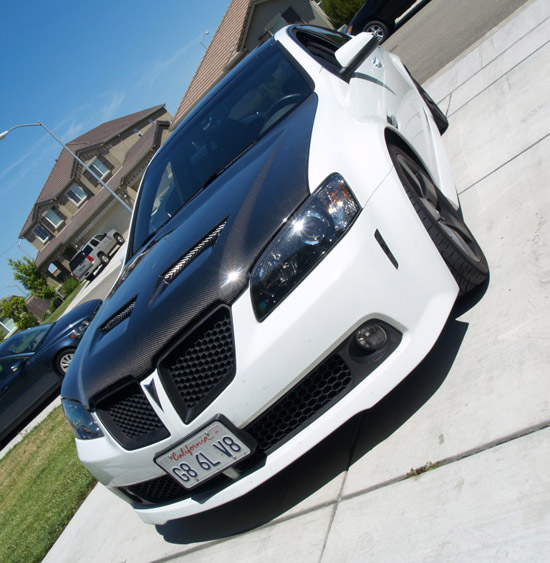
Posted on June 23rd, 2011 No commentsAfter a year of planning and waiting it has finally happened… I am the proud owner of a Maverick Man Carbon Fiber Hood!
Two years ago when I purchased my Maverick Man CF Spoiler, I knew I was in love with the way Carbon Fiber looks with the MGM body color of my G8. I wanted to get something for the front of the car (to balance out the spoiler), and a hood was towards the top of the list. Unfortunately, no one produced a CF hood for the G8!
After some persuasion Maverick Man agreed to attempt a CF hood, but first he needed a stock hood to make the molds. I had been looking for a good quality used G8 hood on eBay and other websites, but was having a really hard time finding one. Eventually I was able to track down a hood from a G8 owner (who had just finished a Holden front-end conversion) and had it shipped to Maverick Man. The shipping process was crazy (have you ever tried to ship something as large/heavy as a hood across the country?), but it all worked out in the end.
A couple of months ago Maverick Man released a few teaser photos of the hood, and it sparked huge interest from the G8 community. Fortunately, having been involved with the creation process, I was at the top of the list to receive a finished hood. Unfortunately, when the hood was ready to ship… I was on travel for work!
Well, there was no way I was going to pass-up my chance to get the hood, so I made a few calls and arranged for someone to receive the hood while I was away. Not only did they receive the hood, the even did a test fitting on another G8 to get some photos that I could share with the G8 community!
During the test fitting on the other G8 it was observed that some modifications would be required to get the hood latch to fully close. When it came time to install the hood on my G8 a couple of minor modifications were made to the hood latch mechanism such that it could be mounted ~ 1/4″ higher… and after that, the fitment of the hood is just awesome!
One of my favorite features of the hood is just how subtle the CF looks compared to the MGM body color. From a distance, or in anything other than direct sunlight, you can hardly tell that the hood is not stock… but when you get up close, you’re like “WTF, is that Carbon Fiber!?!”
Now I just have to get my act together and install the matching Maverick Man Kidney Grill Surrounds and Lower GXP Grill Surround!
-
Mt. Hamilton Cruise
Posted on May 14th, 2010 1 commentHaving spent the last few weeks on the East Coast for work, I was really excited to get back to the Bay Area and the G8. To take advantage of this trip home I hooked-up with a few GTO owners today for a spirited drive up to Mt. Hamilton near San Jose, Ca.
View Larger MapI have been wanting to make this drive for some time, but have always been a little leery of doing it on a weekend. This is a road that the crazy cyclists come to test their muscle, and it can be quite busy when the weather is good. Fortunately, Friday turned-out to be a perfect day to make the drive… there were zero cyclists on the road!
The group met-up in San Jose and headed up towards Mt. Hamilton. I lead the cruise, not like anyone could have become lost, and it turned-out to be a good thing… the road conditions were less than ideal and having the car with the most tire sidewall up front paid-off. To the best of my ability I tried to radio back when I hit a big bump, but I don’t think it was enough sometimes… there were several occasions where the GTOs had to slow down to avoid the rough roads.
As we made the climb up Mt. Hamilton we came-up on a Toyota 4-Runner, which normally would have been holding us back, but it turned out he was a local who likes to drive! At the top of Mt. Hamilton is the Lick Observatory. The driver of the 4-Runner was heading to the observatory and had obviously driven the road quite a few times… he was actually giving me a run for my money up the mountain!
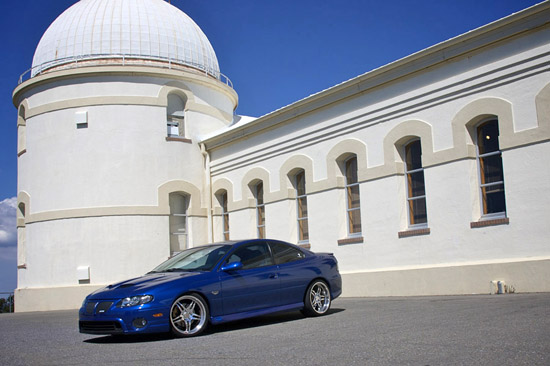
At the top of Mt. Hamilton we stopped at the Lick Observatory for some photographs and sightseeing. I had never been to the observatory, so being able to walk around and look at some of the memorabilia was very cool. They even have an original seismograph from the 1906 San Francisco earthquake! Before leaving we had to take advantage of the scenery and take a few photographs.
Rather than just driving back down the road we had just driven, we decided to head out towards the Central Valley and drive on San Antonio Valley Rd. and then out on Del Puerto Canyon Rd.
View Larger Map
The descent from the Lick Observatory down San Antonio Valley Rd. was just spectacular! This is a smooth section of road that through a series of switchbacks drops almost 2000′ in less than 4 miles (at up to a -11% grade). If this road wasn’t in the middle of nowhere I’d drive it every day. What better way to explain… than a video!
The G8 really handled this stretch of the drive well, no matter how hard I tried to push it. The driver of the GTO behind me commented that he could smell my brakes as he was going through the corners! There were several times where I was locking-up a wheel or two… and I know if I had not been using the transmission to help slow down into corners I wouldn’t have been able to be as quick. I can only imagine how this road will be after I do my suspension upgrades!
After the wonderful descent from Mt. Hamilton we headed out into the middle of nowhere. The only thing you’ll find out here are some farms and the occasional cow, but it does lend to some nice “relaxing” driving roads. San Antonio Valley Rd. leads out to the crossing point for three roads at “The Junction”. Mines Rd. leads to Livermore, Del Puerto Canyon Rd. heads out towards the Central Valley, and San Antonio Valley Rd. to the Lick Observatory and San Jose. The Junction is also the home of a little bar, named “The Junction” (big surprise huh?). We stopped there to catch our breath, and after spending some time with the locals we headed back out to finish-up the drive.
The day turned-out to be a great outing. I had hoped to have a few more cars, but I think it worked out better than we only had the four of us… it allowed us to push things a bit harder. I wished I’d been able to spend more time with the G8, but it was great to get out and romp around while I had the chance!
-
SF Bay G8 Cruise
Posted on March 20th, 2010 No commentsA couple of G8’s from the SF Bay Area got together this morning for breakfast and a cruise. We met at Lou’s Coffee Shop in Palo Alto for a nice breakfast and then headed-out across Palo Alto towards the hills south of San Jose.
This was the first time I’d been on a cruise with my HD GoPro Motorsports Hero cameras. For the first part of the cruise, through town, I had both cameras on the back of the car to get footage of the other cars on the cruise.
Before we headed into the hills we stopped so I could reposition the cameras. We took advantage of the stop to grab a few photos.
The second half of the cruise was much more fun, driving wise, and really gave the group a chance to push their G8’s to towards the limits. The roads that were selected to drive were really fun and quite challenging. The start was very tight and twisty with quite a steep ascent. As the road continued it became much more sweeping and much quicker.
I had one of the video cameras mounted to the front bumper and another on the rear bumper. This produced a bunch of great footage and did quite a good job capturing the sound from my exhaust.
The cruise ended at a parking lot and the group spent quite a while talking about just how much fun the drive was. Many of us had our hoods open trying to cool things off… we were really pushing things, and the cars showed it (my IAT and Trans temps were well normal).
While I had hoped we would have more cars attend the event, it was great to spent some time driving with friends. Maybe someday the G8 community will pull together like the GTO community has…
-
NCG GTG: Marin Brewing Co.
Posted on January 23rd, 2010 No commentsToday the NorCal GOATs has a get together at the Marin Brewing Co. for lunch. As always, there were caravans from various areas of the bay to the meet. I connected with a few people from the central valley and a new CGM GTO owner from Castro Valley.
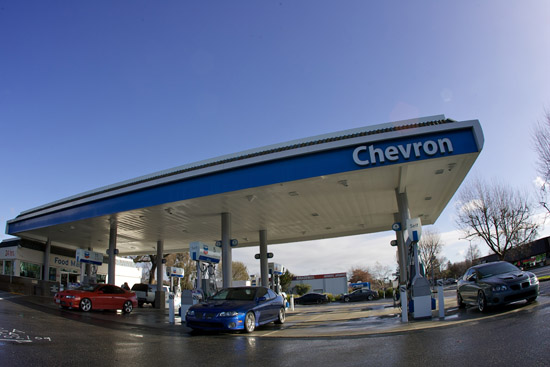
After a brief stop to get some fuel, the gang headed out. The drive up went smoothly (some random person in front of me even paid my toll on the bridge) and we made good time.
The rain that hammered this area over the past week was sticking around just long enough to rain on our parade. It wasn’t too hard (nothing compared to this past week), but it was consistently sprinkling over most of the drive. I didn’t wash my car for this meet (again), and was glad of that when the rain was coming down. But on that note, I really need to spend a couple of hours washing and detailing my car!
When we arrived at the Marin Brewing Co. the rest of the group was already in the restaurant. It was a little disappointing not to get there earlier for the typical talk in the parking lot, but we were able to get some of that done after the GTG. We went in and joined the rest of the group just in time to order food.
After a GTG at the Marin Brewing Co. a few of us headed to the Golden Gate Bridge to take some photos. The drive to the bridge was terrible… being the leader, trying to keep everyone together, and not knowing the area is just a nightmare situation. After driving around and circles (at least three times) trying to get everyone together… I was finally able to find an area to pull over and regroup. From there, things went a little smoother, which was nice.
The parking area at the Coast Guard harbor was very wet and full of many puddles. One nice thing is that the center ‘road’ portion of the lot is paved, so despite having dirty puddles, it wasn’t too much of an issue. The parking lot was quite wet/muddy and I was really surprised that everyone came in for photos. I think it was the dirtiest place most of these GTOs have ever been!
The lighting was far from ideal (everything was backlit), but I don’t really think you can take a bad photo with the Golden Gate Bridge in the background.
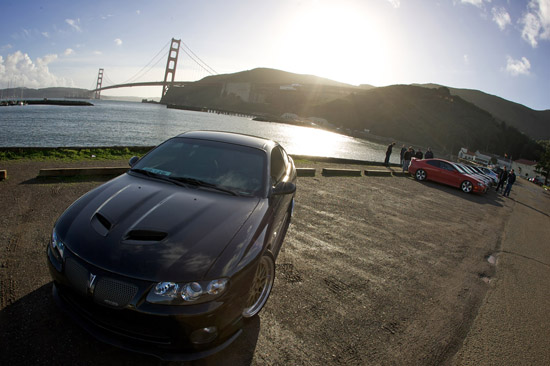
Because of the earlier rain, people’s cars were dirty… so I wasn’t too worried about getting the perfect picture. I mentioned to people that we need to be here at sunrise to get the best light, and didn’t get many people who seemed interested. I totally understand not wanting to make an hour (or longer) drive before the sun is up just to take some photos, but sometimes that’s what it takes to get the really spectacular images.
The drive home from the Golden Gate Bridge was typical Northern California driving… patches of really heavy traffic even on a Saturday! A few of us stopped briefly at the Dublin Hooters to deliver a NCG jacket and calendar to a member who was unable to make the cruise.
The day was very enjoyable. Great conversations as always and really good to see everyone and what they have been working on since the last time. I think there should be a few good photos for those who made the trip to the Golden Gate, so that was cool too.
-
NorCal GOATs 2010 Calendar
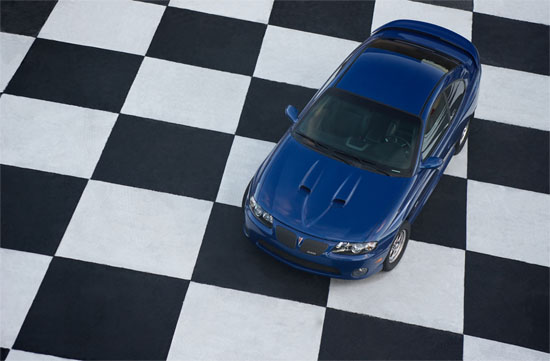
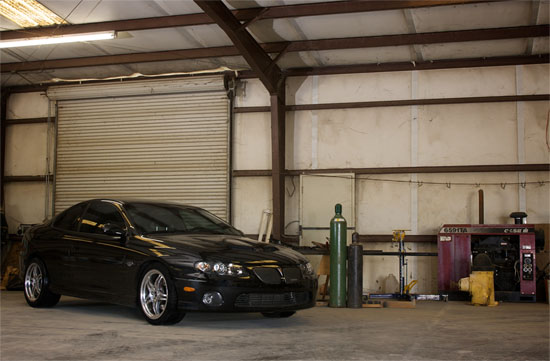
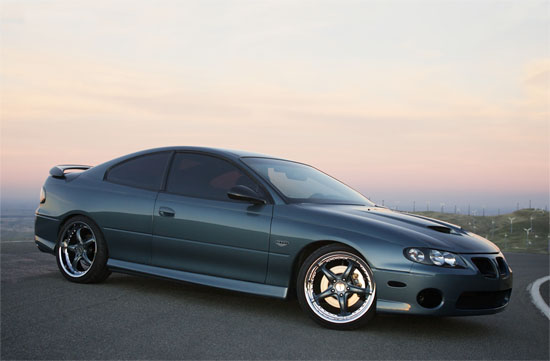
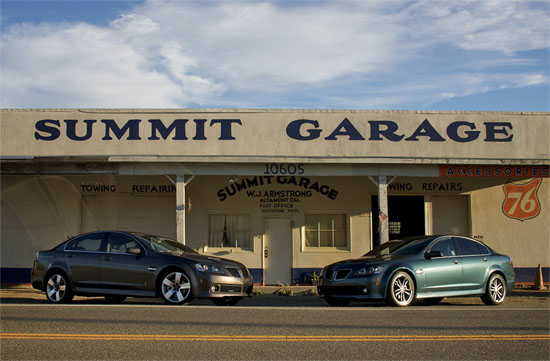
Posted on December 22nd, 2009 No commentsThe 2010 NorCal GOATs 2010 Calendar is finally finished! It was a long process, but the results are well worth it…
Cover
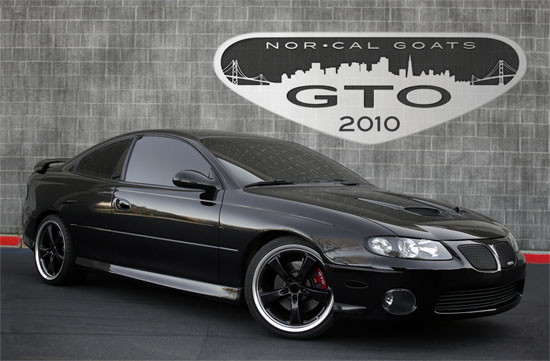
January
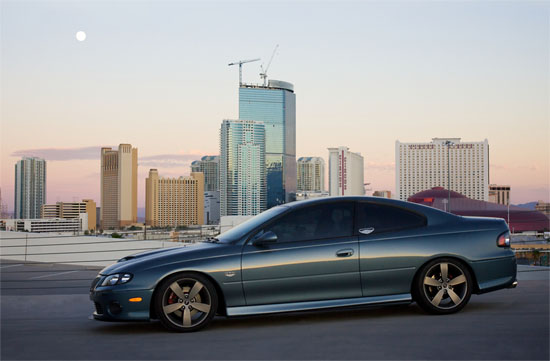
February
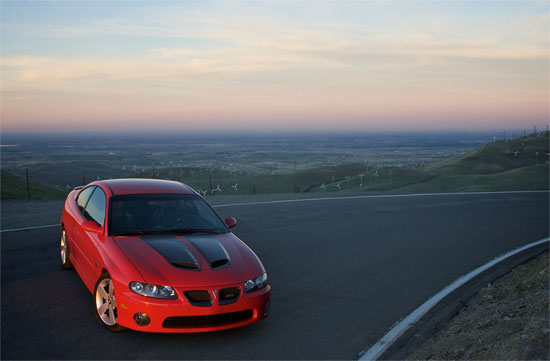
March
April
May
June
July
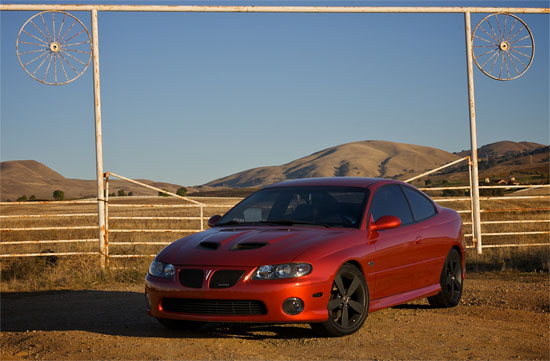
August
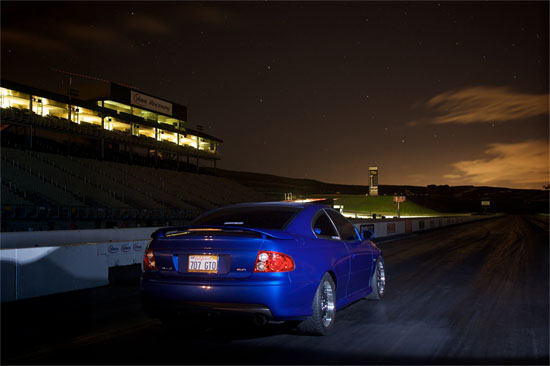
September
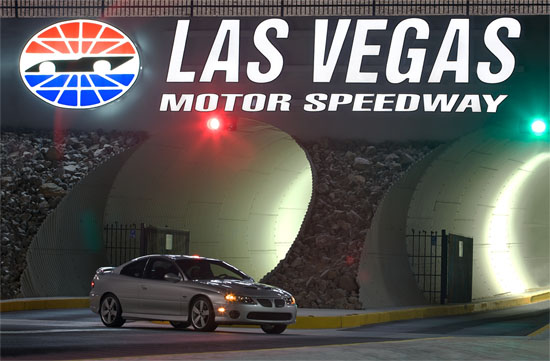
October
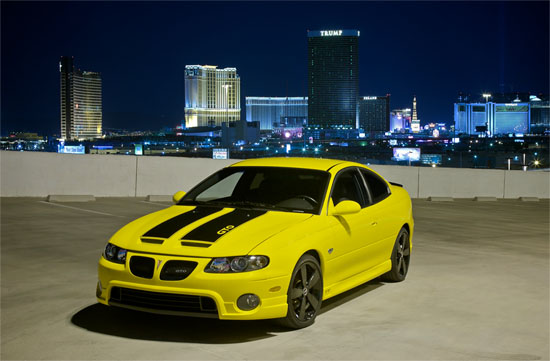
November
December
You too can even order your very own, in two different sizes: ORDER HERE


